How To Remove A Watermark From A Video In Capcut
In this age of social media dominance, there is a race to create high-quality videos among every social media influencer and common user. When it comes to editing, Capcut is the most favorite for all. Capcut is a versatile editing app, with an easy-to-use interface, plenty of editing tools, premium features, and templates. It is specifically designed for social media editing, especially TikTok.
One of the crucial tasks during editing is to remove watermarks from a video. It spoils the beauty of the video and creates an annoying feeling. Getting rid of watermarks in videos has become a headache for many.
If you are looking for a tutorial on how to remove a watermark from a video in Capcut, you are in the right spot. We will discuss multiple methods to get rid of annoying watermarks. We will also shed light on how to remove the TikTok watermark in Capcut. Let’s dive deep into it.
How To Get Rid Of TikTok Watermark On Capcut
Follow the steps below to achieve your goal.
Download TikTok Video
First of all, you need a TikTok video from where you want to remove the watermark. If you do not have one, you can download it from TikTok by clicking on “Share”. After clicking the Share button, you can see the “Save Video” option.
Import The Video To Capcut
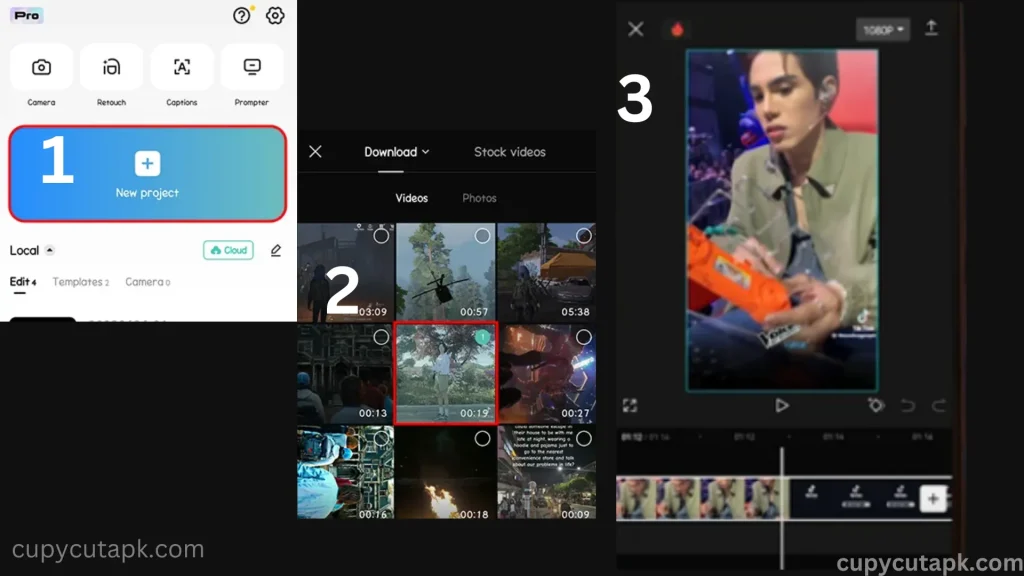
In the second step, open the Capcut app and import your video in “New Project.” You can add multiple videos at a time if you want to.
Edit The Video
By selecting your video on the timeline, you will see some options at the bottom. Scroll through the captions horizontally and tap on “Edit”.
Crop The Video
You will get some more options. Now click on “Crop” and you will see a grid on the video. Adjust the corners of the grid and crop out the video to remove the watermark. Adjust the top corners to get rid of the TikTok watermark.
Save And Export The Project
When all the adjustment is done, tap the checkmark to save your editing. You can select the “Reset” option in case you have made any mistake. Export your project and share it wherever you want.

How To Remove Capcut Watermark At The End Of A Video
Follow the steps below to remove the Capcut watermark.
Start A New Project
Launch the app on your device, start a new project, and add a video to it.
Select The Video On The Timeline
Select the video on the timeline for editing, scroll it to the left, and go to the end of it.
Separated Segment Of Capcut Watermark
At the end, you will notice that a segment of the Capcut watermark is automatically added. This segment is separated from the video you uploaded to the project.
Delete The Capcut Watermark
Since it is separated from the rest of the video, it is easy to remove it. Just select that ending clip and tap on “Delete” at the bottom of the screen.
Export The Project
You are all done. Now you can continue editing or export your video.
Final Thoughts
In conclusion, Capcut empowers its users not only to create polished and professional-looking videos but also facilitates them with multiple pro features including direct watermark removal. The procedure is quite simple and easy and has been explained above in detail. If you are interested in knowing the other tutorial about Caput like how to blur video background in Capcut or how to add subtitles in a video in Capcut, you can check these links as well.
If you need any help or guidance, feel free to contact us.


